0x00 前言
本篇文章主要是在IntelliJ IDEA上搭建Spring web项目
相对于ssm来说,springboot的操作简单了不少,就拿这个记录下吧
springboot内置了tomcat,做一些调试还是很方便的
0x01 创建项目
新建一个Spring Initializr
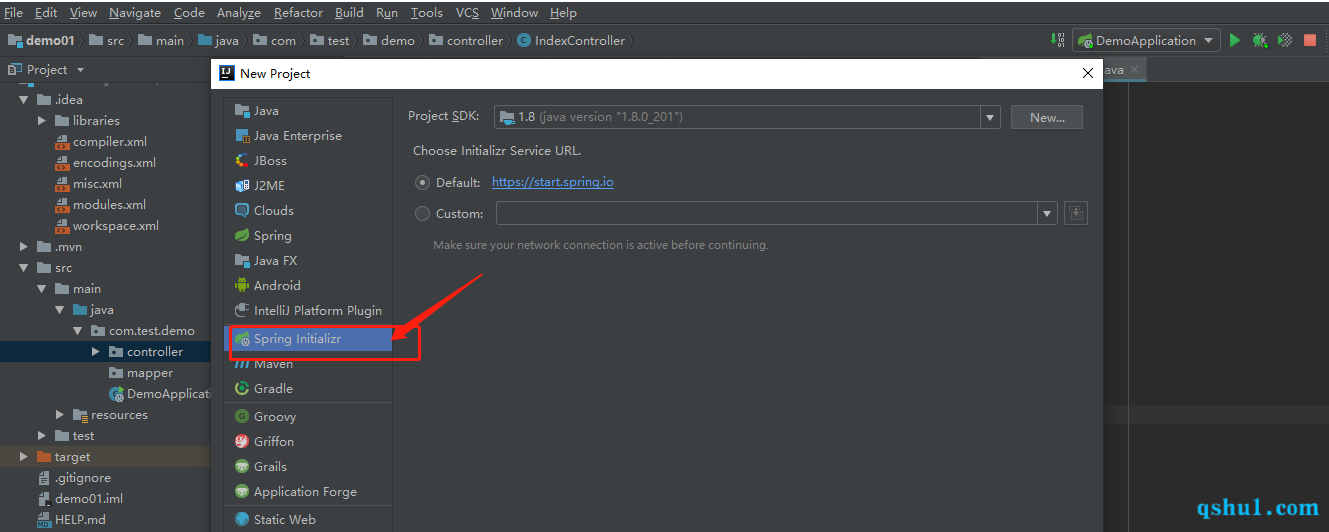
点击下一步,选择我们的本地的java版本
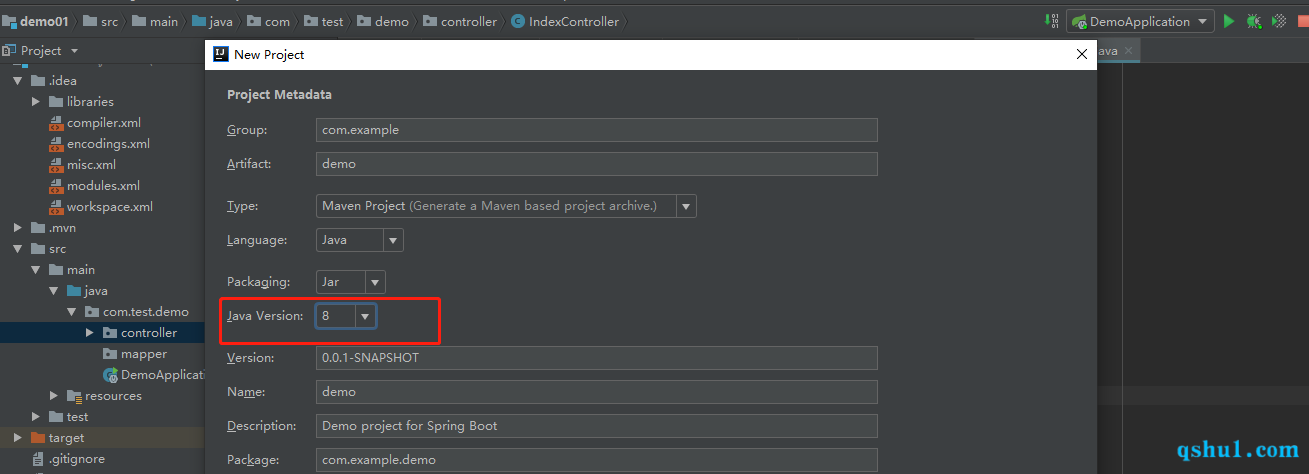
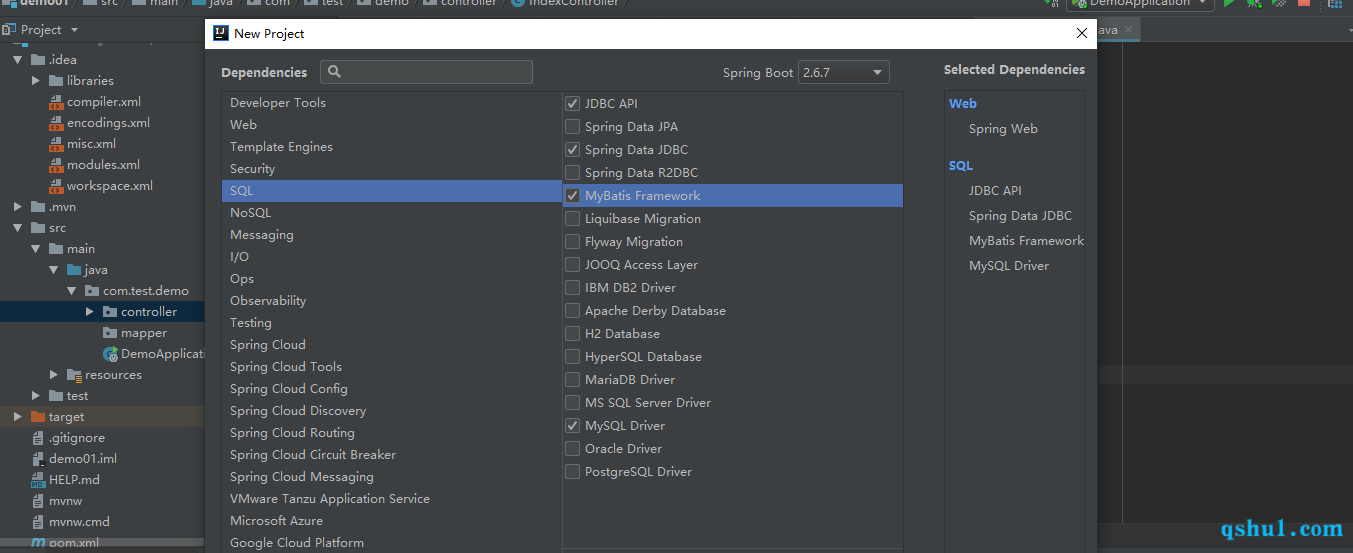
点击下一步,配置web
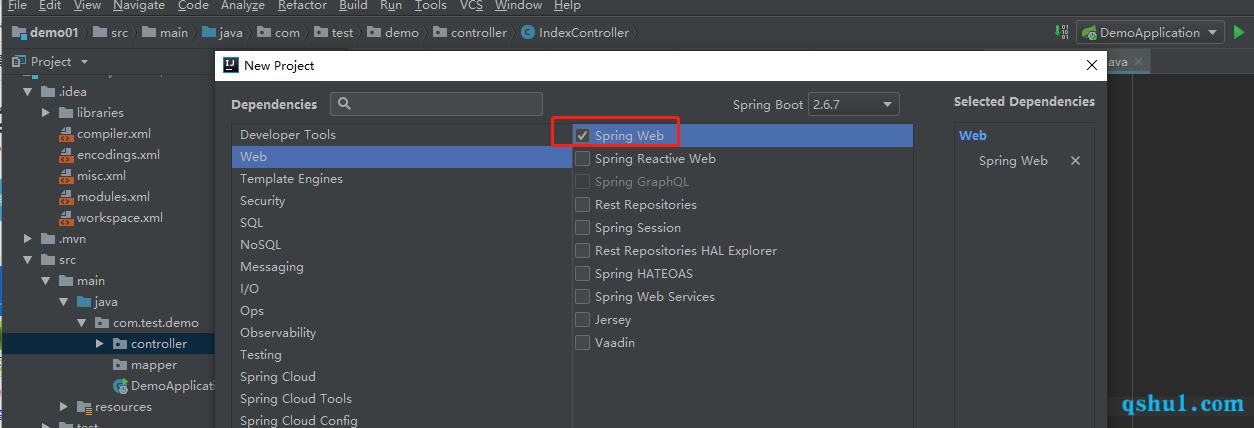
配置SQL
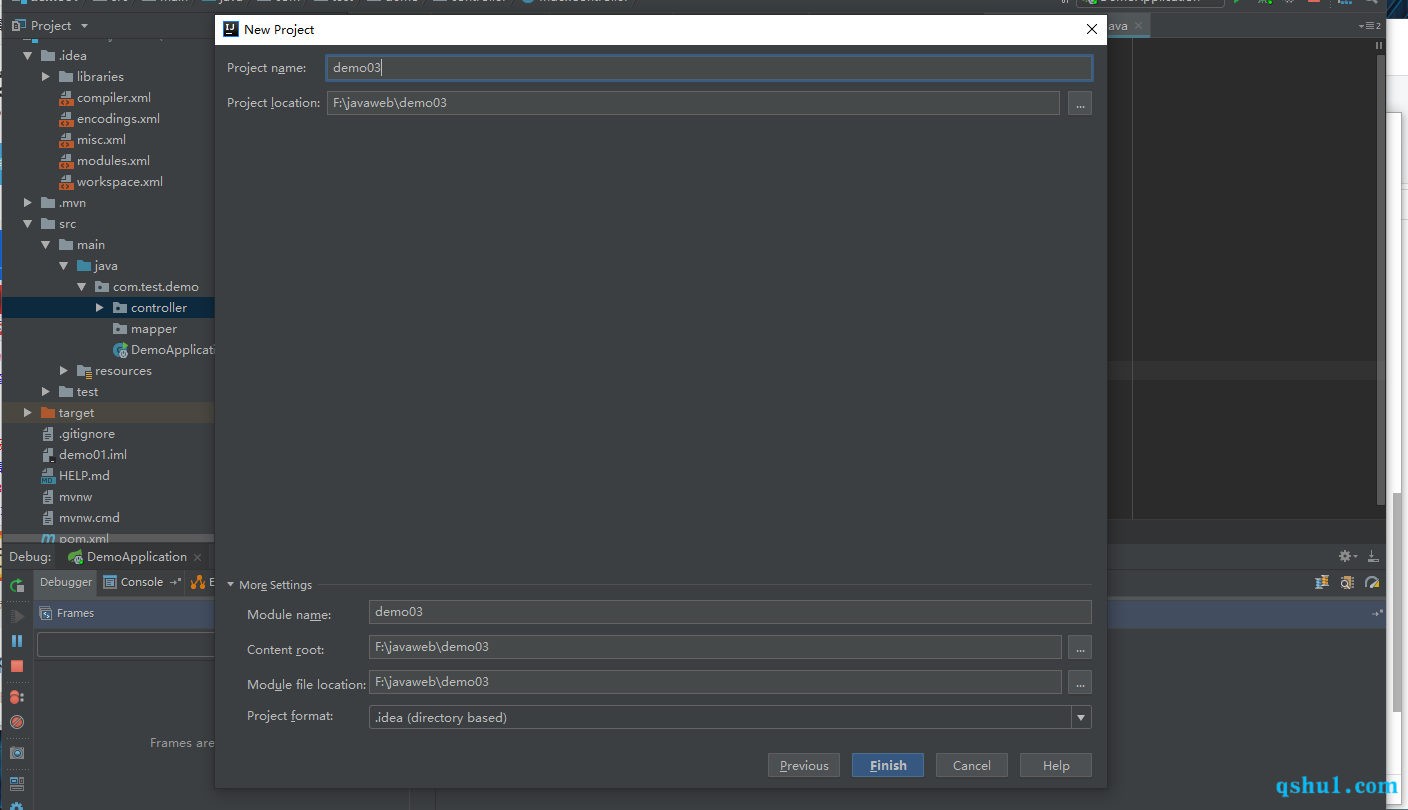
修改项目名称,直接点finish
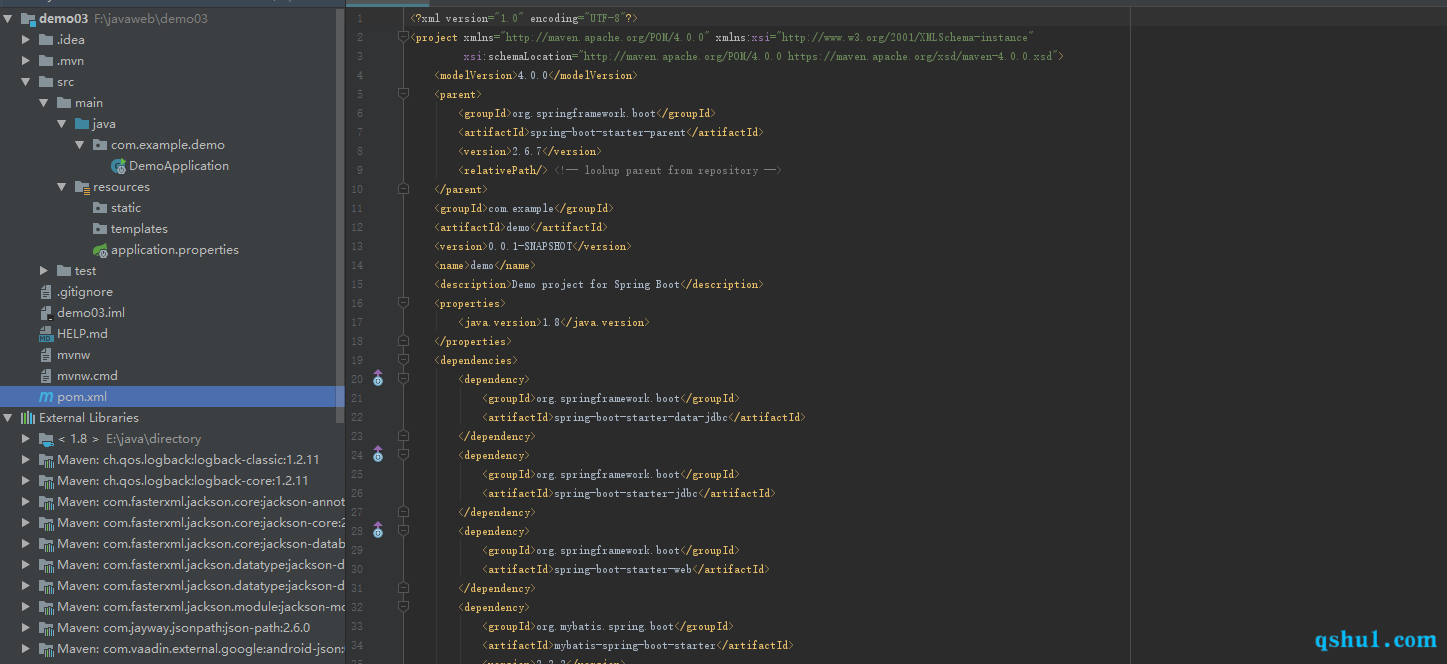
目录结构如下,pom.xml就是我们导入的依赖包
接下来来时配置一个完整项目,不配也成
可选步骤,创建文件和目录
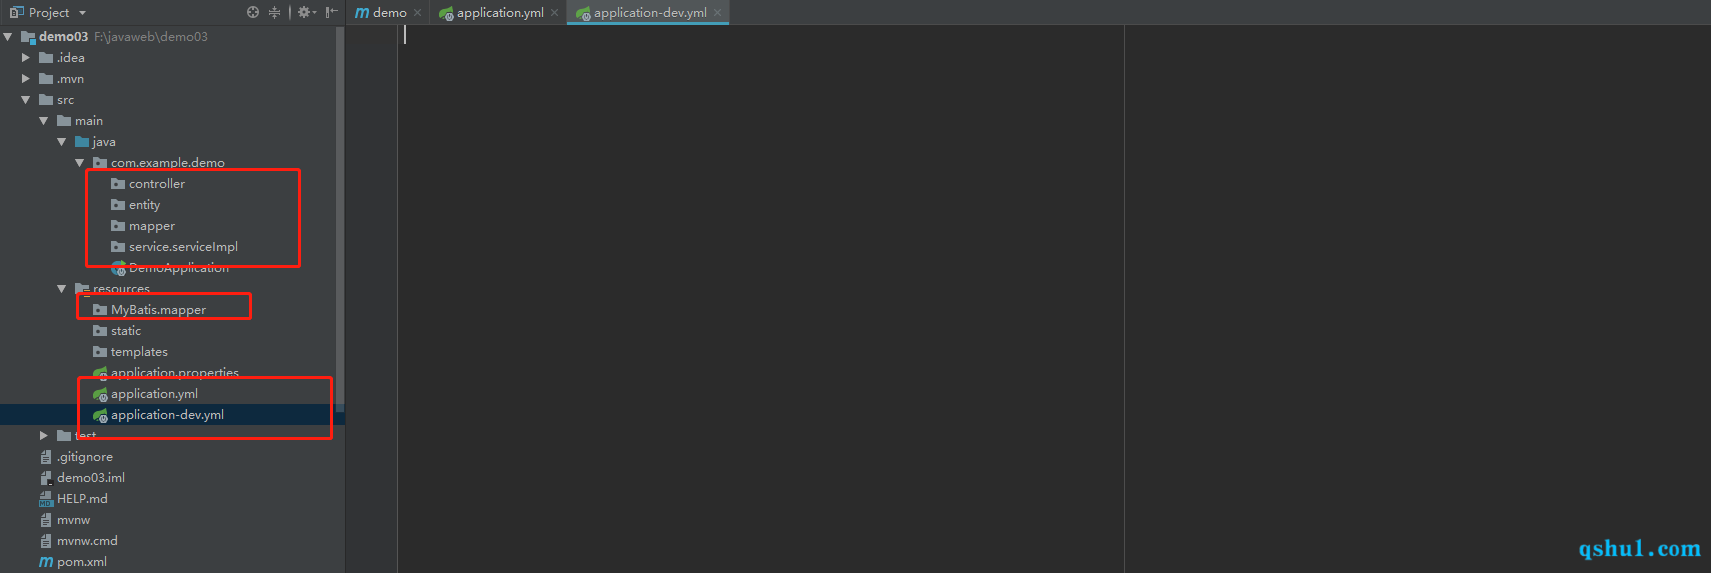
其中application-dev.yml
1
2
3
4
5
6
7
8
9
10
11
12
13
14
15
16
17
| spring:
datasource:
url: jdbc:mysql://localhost:3306/studentmanagement?useUnicode=true&characterEncoding=utf8&zeroDateTimeBehavior=convertToNull&useSSL=true&serverTimezone=GMT%2B8
username: root
password: 123456
driver-class-name: com.mysql.cj.jdbc.Driver
server:
port: 3306
mybatis:
typeAliasesPackage: com.example.demo.entity
mapper-locations: classpath:mybatis/mapper/*.xml
configuration:
map-underscore-to-camel-case: true
|
application.yml
1
2
3
4
5
6
7
| spring:
profiles:
active: dev
thymeleaf:
prefix:
classpath: /templates
cache: false
|
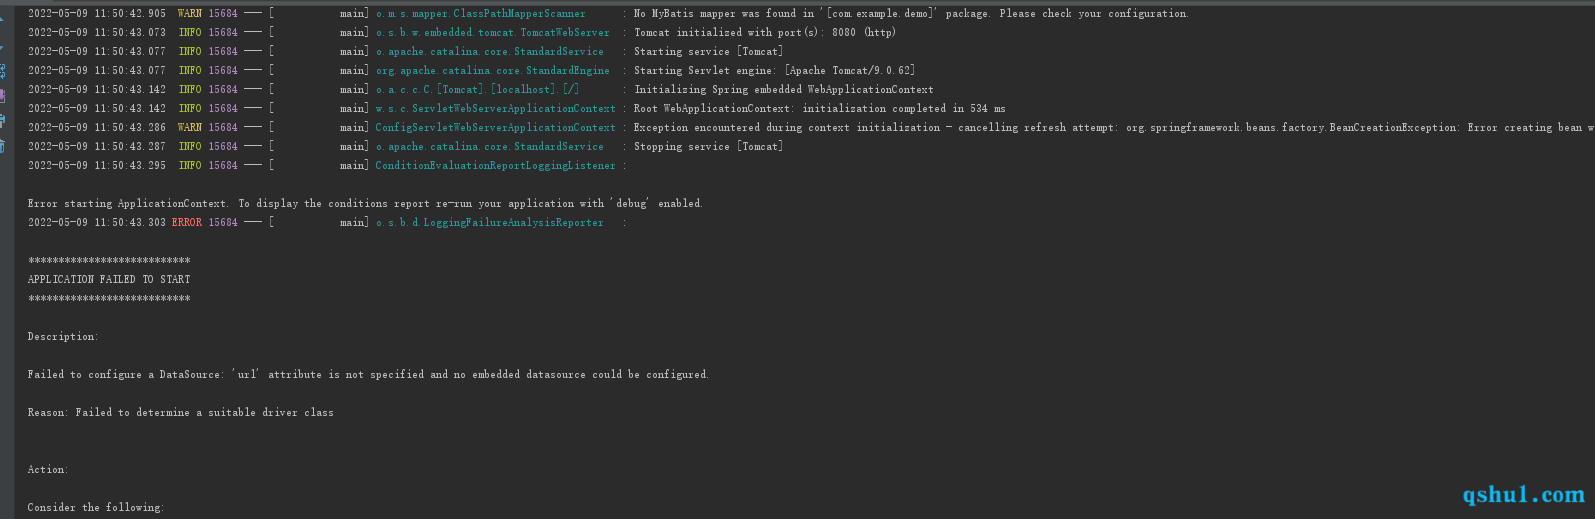
配置完成后启动
会出现报错
1
2
3
4
5
6
7
8
9
10
11
12
| Error starting ApplicationContext. To display the conditions report re-run your application with 'debug' enabled.
2022-05-09 11:50:43.303 ERROR 15684 --- [ main] o.s.b.d.LoggingFailureAnalysisReporter :
***************************
APPLICATION FAILED TO START
***************************
Description:
Failed to configure a DataSource: 'url' attribute is not specified and no embedded datasource could be configured.
Reason: Failed to determine a suitable driver class
|
0x02 处理报错
原因是
应用没有使用到DataSource,但是在pom.xml里引入了mybatis-spring-boot-starter
解决方式
- 把
mybatis-spring-boot-starter的依赖去掉,这样就不会触发spring boot相关的代码
- 把
spring boot自动初始化DataSource相关的代码禁止掉
这里选择第二种
禁止的方式也有两种
- 在启动类禁止
- 在
application.properties里配置
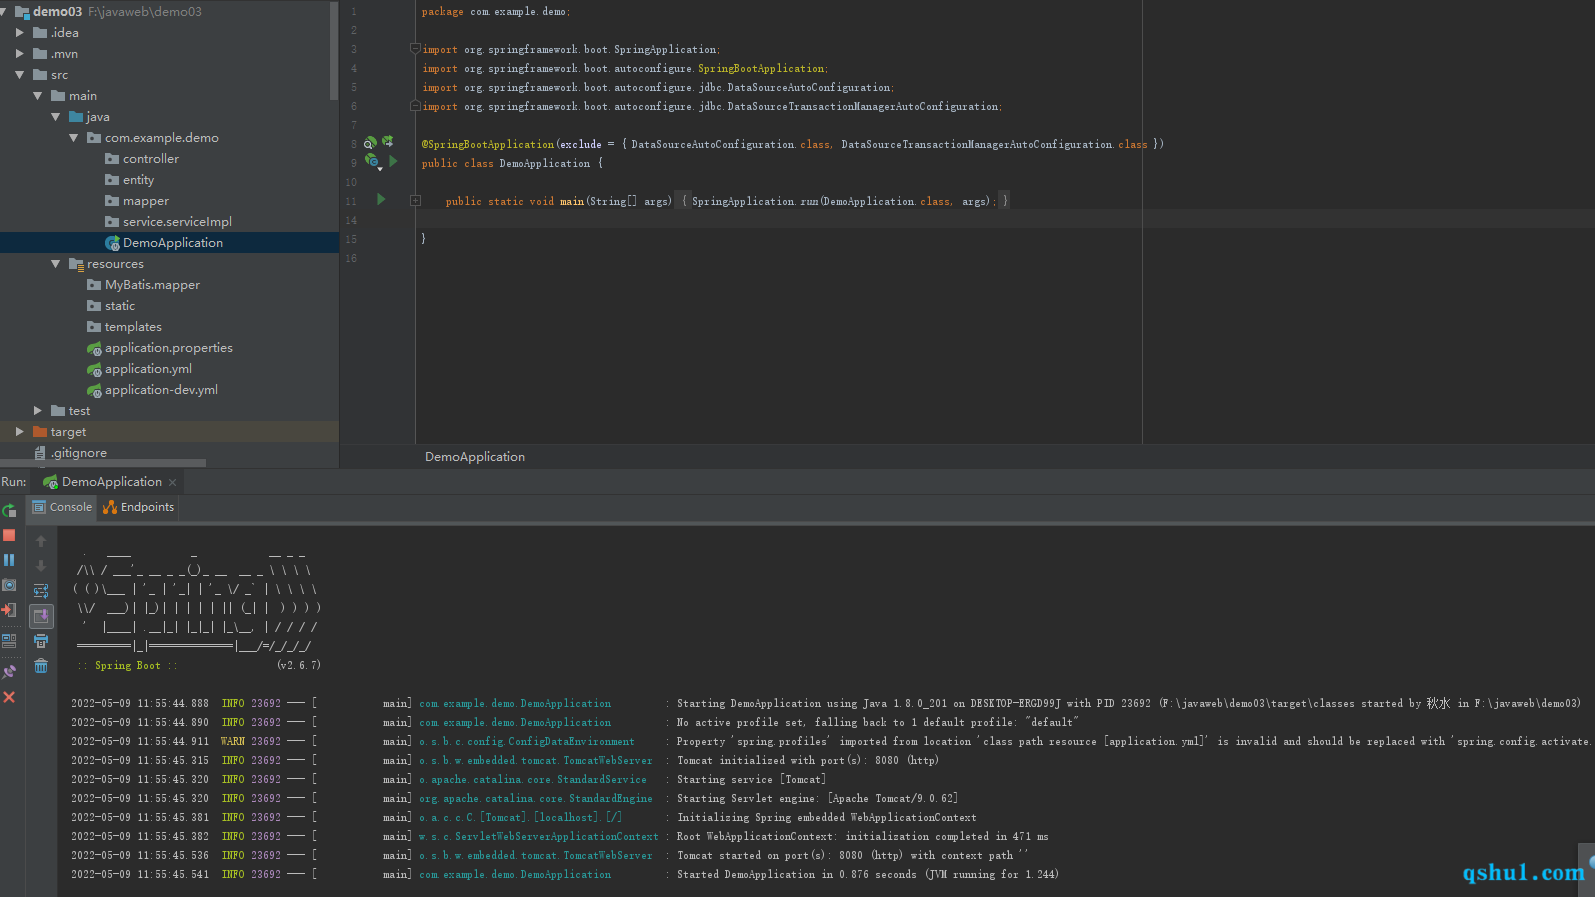
启动类禁止
1
| @SpringBootApplication(exclude = { DataSourceAutoConfiguration.class, DataSourceTransactionManagerAutoConfiguration.class })
|
配置文件
1
| spring.autoconfigure.exclude=org.springframework.boot.autoconfigure.jdbc.DataSourceAutoConfiguration,org.springframework.boot.autoconfigure.jdbc.DataSourceTransactionManagerAutoConfiguration
|
这里选在启动类禁止
如下,已经正常启动
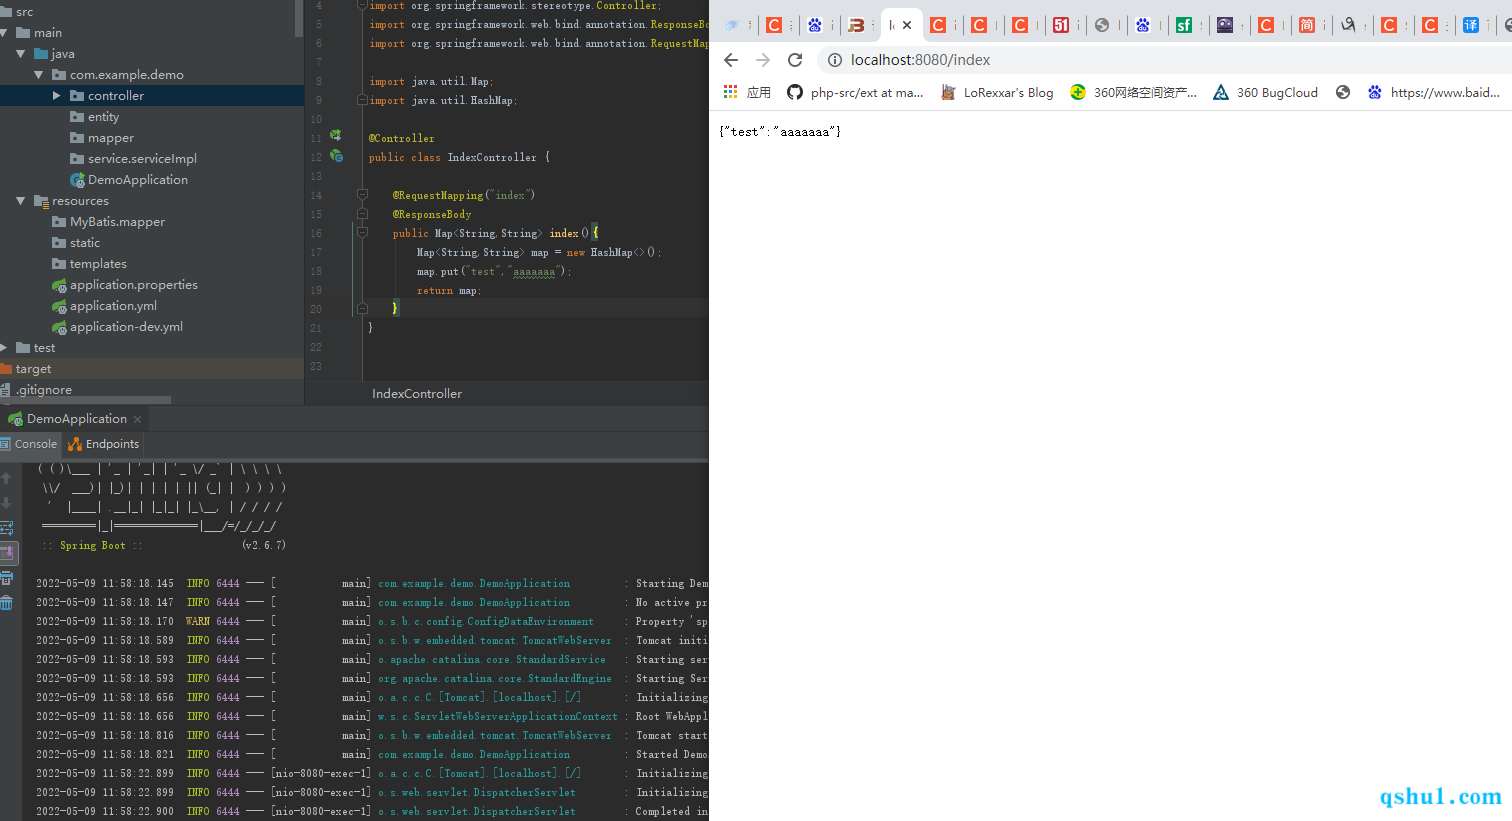
0x03 web访问
创建一个控制器
1
2
3
4
5
6
7
8
9
10
11
12
13
14
15
16
17
18
19
20
21
22
23
| package com.example.demo.controller;
import org.springframework.stereotype.Controller;
import org.springframework.web.bind.annotation.ResponseBody;
import org.springframework.web.bind.annotation.RequestMapping;
import java.util.Map;
import java.util.HashMap;
@Controller
public class IndexController {
@RequestMapping("index")
@ResponseBody
public Map<String,String> index(){
Map<String,String> map = new HashMap<>();
map.put("test","aaaaaaa");
return map;
}
}
|
成功访问
0x04 end
…